 Sale!
Sale!
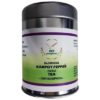
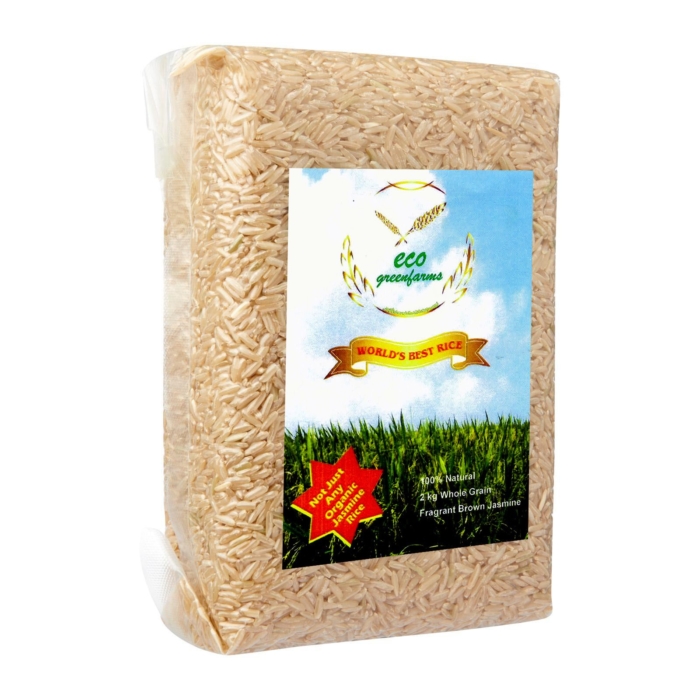
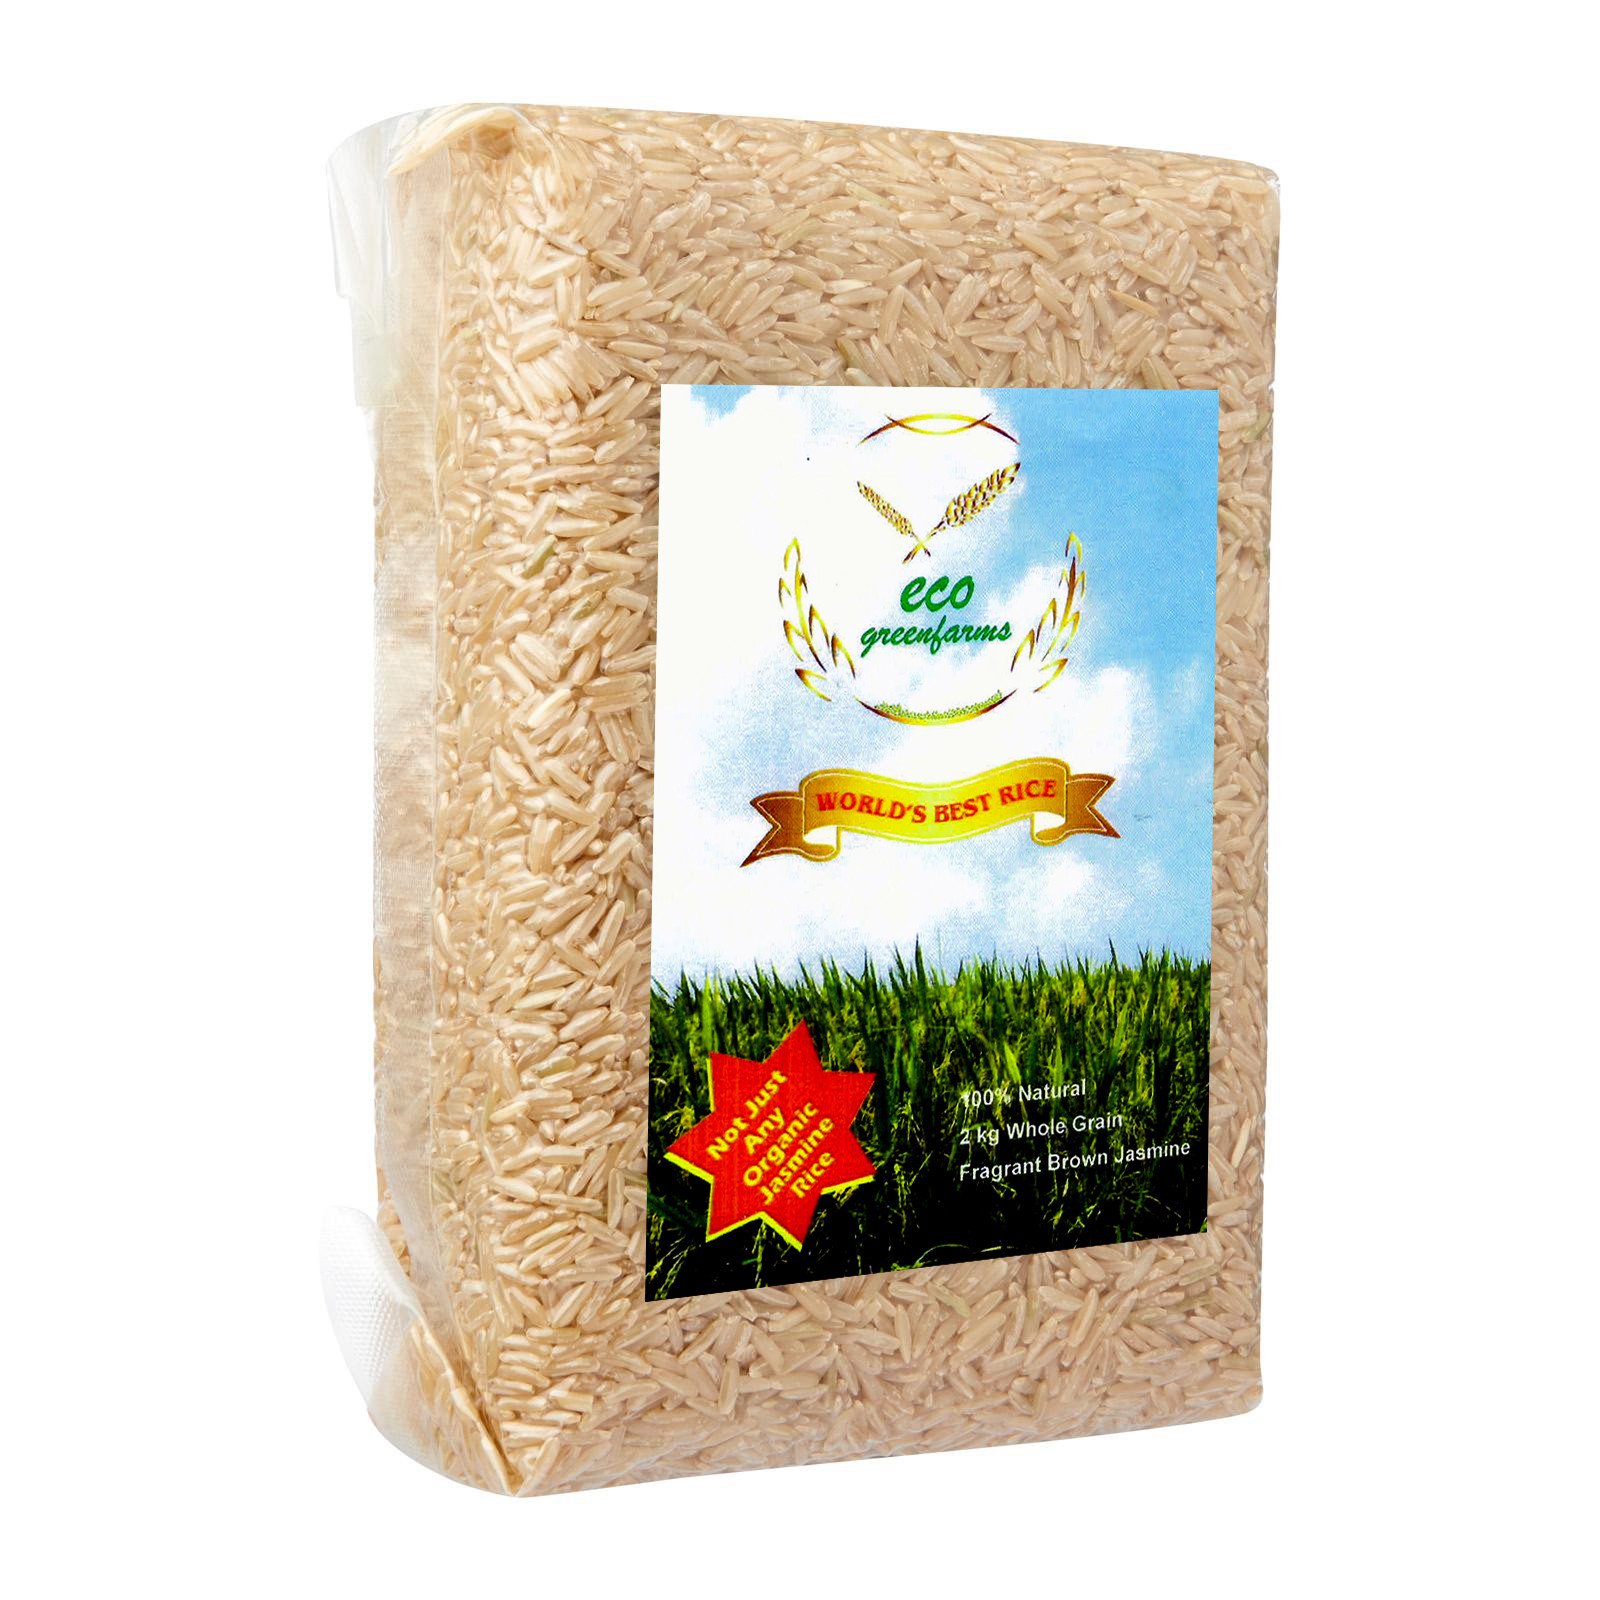
Premium Organic Jasmine Fragrance Brown Rice 2kg + FREE Organic Red Rice 200g
$14.90
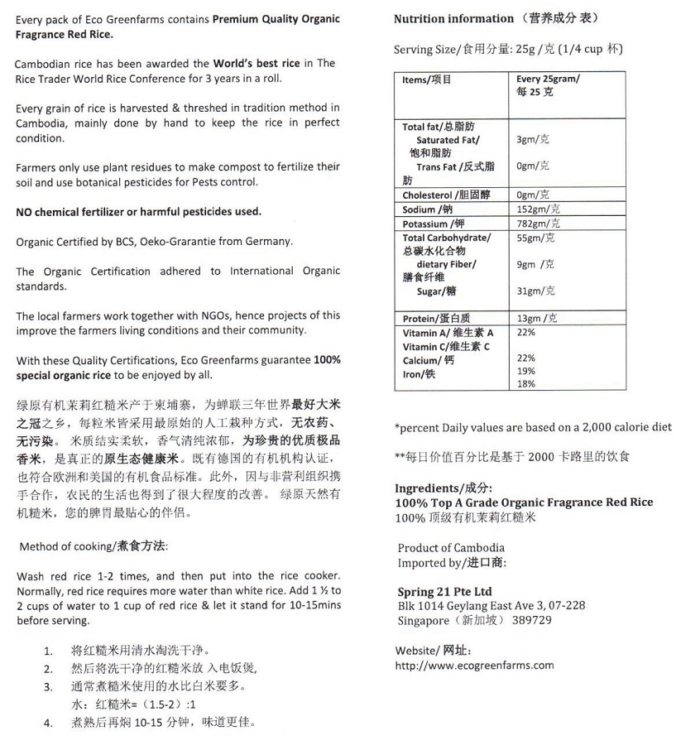
PREMIUM QUALITY ORGANIC JASMINE FRAGRANCE BROWN RICE
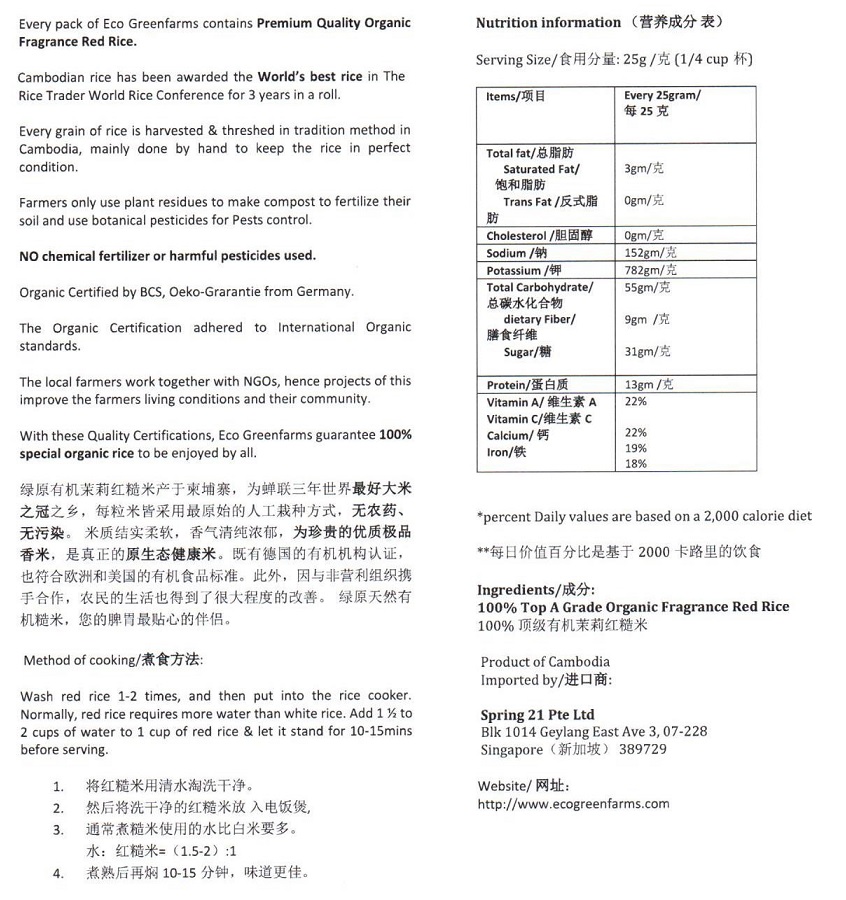
AWARDED 3 YEARS IN A ROW THE ‘WORLD’S BEST RICE’ IN THE RICE TRADER WORLD CONFERENCE
Certified by BCS
Adhered to International Standard
No Pesticides or Chemical used
High in Dietary Fiber and Calcium

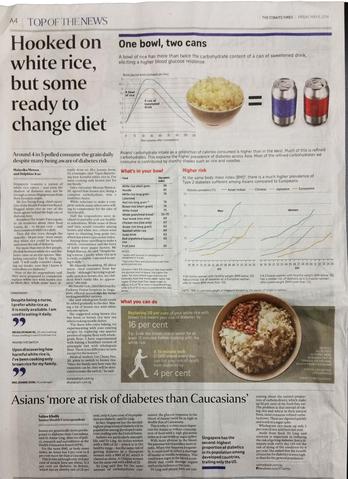

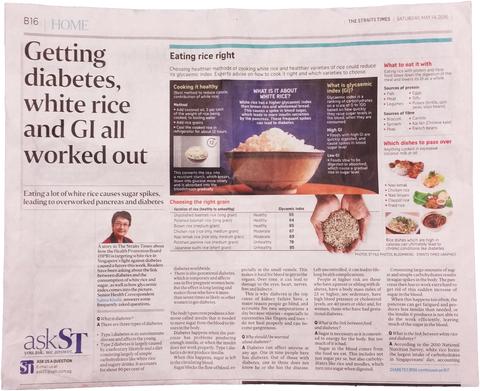

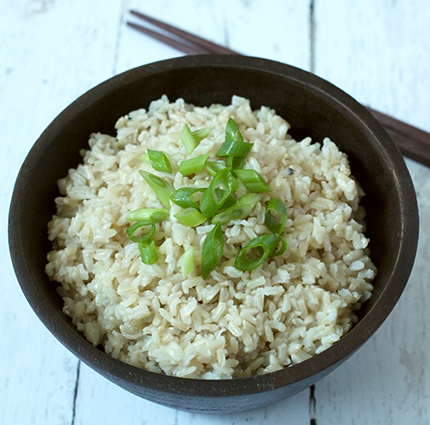
Brown rice is much more nutritious than white rice and makes for a healthy, yet filling meal. Cooking brown rice is easy and basic, but it takes a little more water and time than regular white rice. Here’s how to do it, using multiple cooking methods.
- Prep time: 10 minutes
- Cook time: 40-50 minutes
- Total time: 50-60 minutes

1 Select a large saucepan with a tight fitting lid.
- A large saucepan is better for cooking rice than a smaller one as it has a greater cooking surface. This allows the water in the saucepan to heat more evenly, leading to a greater level of consistency in the cooked rice.
- A tight fitting lid prevents steam from escaping when cooking.

2 Measure the rice. One cup of uncooked rice will yield approximately three cups of cooked rice. Rinse the rice thoroughly in a sieve or strainer until the water runs clear. Add to saucepan.
- For softer rice, soak the grains in cold water for 45 minutes to an hour before cooking. This allows the water to penetrate the outer bran layers.

- Optionally, you can heat a little oil in the saucepan over medium heat and fry the rice for a moment before adding the water. This helps build flavor, but is definitely optional.

3 Measure the water. Add 2 1/2 cups of water for every cup of brown rice. Lightly salt the water with about a teaspoon of salt. Stir once.
- Other liquids, such as vegetable or chicken stock are also good for cooking rice and adding flavor.
- It is important to accurately measure the correct amount of water or broth for the amount of rice you’re cooking, otherwise your finished product might turn out burnt or mushy.
4 Bring the saucepan to a boil. Then reduce the heat to low and simmer, covering the saucepan with a lid, until the rice is tender and the majority of liquid has been absorbed. Cooking time will vary according to the stove used.
- Brown rice usually takes between 40 and 50 minutes to cook, however, you should begin checking it after 30 minutes to prevent it from burning.

- Simmer the rice on the coolest burner on your stove, or on a simmer ring. The rice should be bubbling very slightly, or at it’s “lowest bubble.


5 Leave to rest. Once the rice has finished cooking and all the water has boiled off, leave it to rest, with the lid on, for a minimum of five minutes. The rice will firm up as it cools slightly, allowing you to serve long, fluffy, unbroken grains of rice.
- After the resting period, remove the lid and fluff up the rice with a fork – it should be light and fragrant!
- Serve immediately, or let the rice cool for half an hour then refrigerate for future lunches.
In the Oven

1 Preheat the oven. Preheat the oven to a temperature of 375F (191C).

2 Measure the rice. Measure out 1 1/2 cups of brown rice. Rinse the rice thoroughly in a sieve or strainer until the water runs clear. Place the rice into an 8-inch square glass baking dish.

3 Boil the water. Bring 2 1/2 cups of water, 1 tablespoon of butter and 1 teaspoon of salt to a boil in a kettle or covered saucepan. Once the water boils, pour it over the rice, stir once to combine, and cover the dish tightly with heavy-duty aluminum foil.

4 Bake. Bake the rice on the middle rack of the oven for 1 hour. After 1 hour, remove the aluminium foil and fluff the rice with a fork. Serve immediately.
Method 3
In a Rice Cooker

1 Measure the rice. Measure out the amount of rice you wish to cook, usually 1 cup. Rinse the rice thoroughly in cold water, then soak for 45 minutes. This will help to soften the rice.

2 Drain the rice. Drain the rice and pour into the inner vessel of the rice cooker.

3 Add the water. Pour water into the rice cooker until it reaches the 2 1/2 cup to 3 cup mark, depending on how soft you like your rice. Add a 1/2 teaspoon of salt.

4 Turn the rice cooker on. Fit the lid of the rice cooker on securely, plug it in, and press the switch to turn the cooker to cooking mode. The red light should be on.

5 Leave to cook. Leave the rice to cook for approximately 45 minutes. When the rice is cooked, the cooker should automatically switch to “warm” mode. Fluff the rice up with a fork before serving.
Method 4
In the Microwave

1 Prepare the dish. Add 3 cups of water and 1 tablespoon of oil to a 2.5 quart microwave-safe dish with a lid. Crumble 2 chicken bullion cubes into the water (optional).

2 Measure the rice. Measure out 1 cup of brown rice. Rinse thoroughly in a sieve until the water runs clear. Sprinkle the rice into the water-filled dish and give it a small stir to combine.

3 Microwave the rice. Place the dish in the microwave and cook, uncovered, for 10 minutes on high power. Then cover the dish – without stirring the rice – and cook for 30 minutes on 50% power.

4 Let it rest. Leave the microwave door closed and let the dish sit in it for 10 minutes. Then remove the dish from the microwave and fluff the rice with a fork. Serve.

5 Finished.


For a better understanding of healthy foods, please see ‘The World’s Healthiest Foods’.
什么是糙米?
糙米是稻谷只脱去最外层的壳,保留了种皮和胚芽的米。一粒糙米就是一粒种子,当温度和湿度适宜的时候,糙米是能够发芽的,因此它是有着生机与活力的米。
而我们最熟悉的白米是糙米经过再加工,脱去了种皮和胚芽层而得到的精米,它仅仅是稻谷最里面的胚乳部分。
为什么要吃糙米呢?
因为稻米中所含的大部分蛋白质、维生素、矿物质和纤维素都集中在种皮层和胚芽层,所以精加工之后的白米失去了除碳水化合物之外的大部分营养素。显而易见,糙米比白米中所含的营养要丰富得多,而这些营养对维护人体健康起到了至关重要的作用。另外,由于糙米中富含纤维素,人体消化吸收速度慢,因而血糖上升速度慢,能使血糖更加稳定。而且丰富的膳食纤维还能够加速肠道蠕动,防止便秘,促进毒素的排出。
但是,正因为糙米只经过了简单的粗加工,所以在口感上比较粗糙,不如白米细腻柔软,刚开始吃时肯定会吃不惯。我们可以采取循序渐进的方法,先在白米饭中加入少量糙米,习惯了它的味道之后再逐渐增加糙米的比例,直到最后全部使用糙米。在煮饭方法上,为使糙米更容易被煮烂,可以先把糙米提前浸泡几小时,煮的时候再多加些水。等适应了糙米饭的硬度之后,也可以不提前泡水,只在煮的时候滴入几滴橄榄油即可。糙米饭有一种特有的谷物的清香,一旦吃惯了就再也不爱吃软烂的白米饭了。牙齿不好的老人如果嫌糙米太硬,可以用电动豆浆机磨糙米浆喝,或者把煮熟的糙米饭加水,用搅拌机打成糙米糊来吃。
随着人们对健康的重视,现在已经有越来越多的人认识到糙米的好处,开始去精取糙,我们也可以很方便地从家门口的超市里买到糙米了。需要提醒大家的是:不同产地、不同品牌的糙米质量相差很大,有些糙米中的沙子、皮壳等杂质多一些,淘洗的时候要特别注意,如果有条件不妨多尝试几个品种。但是一次千万不要买多了,糙米容易生虫,因为连虫子都爱吃。
Out of stock
Additional information
| Weight | 2 kg |
|---|
Only logged in customers who have purchased this product may leave a review.










Reviews
There are no reviews yet.